Vue UI Fields, a new start
I’ve been working with Vue for more than 2,5 years now and personally love their design patterns. But when creating forms and input fields across my website I encountered some problems. Every developer has a different view of how a form should behave. This resulted in 5 different forms with each a different styling and different ways of data manipulation. Each form had a unique behaviour, so when creating a new form I started with a copy of most of the functionalities from previous projects and adjusted the code. This, of course, lacks the maintainability for my projects. Due to this inconsistency I couldn’t use some data in other components and pages and thus had to create a new form for different pages and components with yet another code syntax.
Origin
To solve the problems described above I created a dynamic component library with a state management by Vuex. With this library you could create larger forms with the same HTML and syntax. It was a perfect solution for managing data in larger forms. Over time the library was even able to validate the form and use complex functions to toggle forms based on some other state. Unfortunately the downside of using a massive state with live updates from each input is that the JavaScript memory has a busy schedule. In the long run we saw a delay from the user input due to a JavaScript memory leak. The library was way too big for the original problems. After some time and a lot of iterations I created a plugin called UI Fields. This plugin is a component library that uses Vue and JavaScript functions to dynamically render all forms.
UI Fields did solve my original problems but the syntax was not in line with the design patterns by Vue. Instead of rewriting functions in my existing plugin I went back to the drawing board with a lot of help from the Divotion team. All functionality should be an enhancement on all native functionalities of HTML. The functionality should give you full control to write forms on a consistent basis. The plugin should give you the following six functionalities:
- Validation: The form should be validated on the selected input. There are multiple ways to validate an input. As a developer I want to give the input a set of validation rules. These rules can be predefined logic provided by the plugin or a custom fetch to a server. Based on this logic I want to give my user correct feedback.
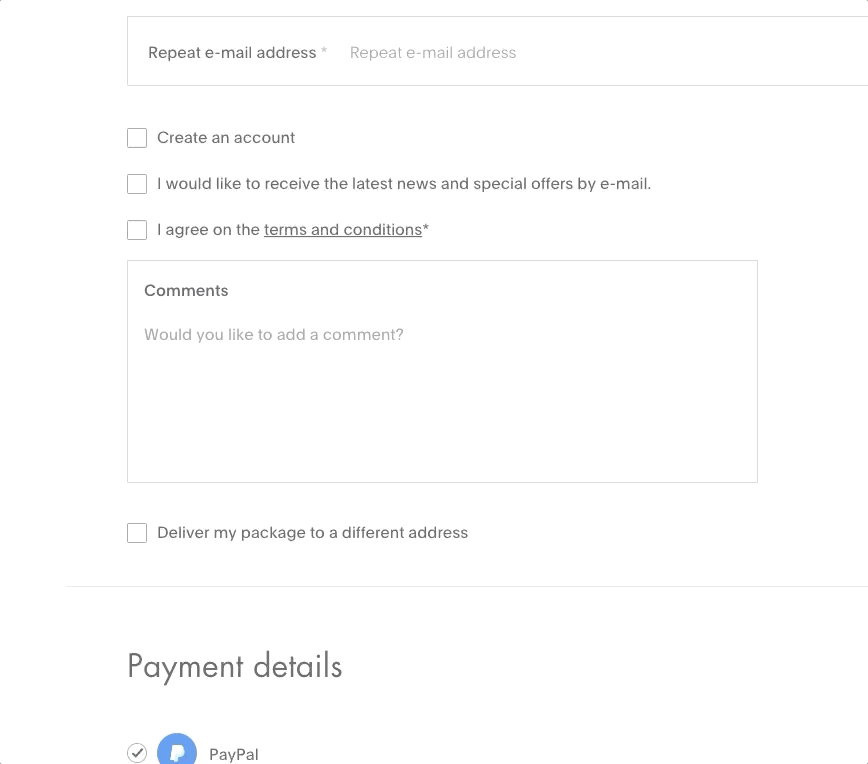
- Responsive disclosure: Other components should be able to access the data from my form. Based on the data and flow, with for example a computed value, I can show new information to my user. For example, in a checkout form the user can choose if they want to ship their product to a different address. Only when selecting this option the user can fill in the data. This option enables the user to focus on the right part of the form.
- Session storage: The input values should be remembered during my session. This way I can continue filling in my form after a reload. This feature should be an option as I sometimes do not want this behaviour.
- Data manipulation: Add data manipulation on my input fields. For example, I want to use a mask for my input and manipulate my data with functions.

- Dynamic component rendering: Render a complete form based on a JSON data structure. Based on this data I want to render my complete form without any effort. This should keep my component clean as I shouldn’t have to manage my settings in a component but rather keep my settings in a separate file.
- Submit: Submit functionality with easy access to the form data. If I want to manipulate this data before submitting I should be able to do that as well.
These features are the start of my new version. I also pitched these problems to the Divotion team and they gave me even more features I could implement. You can follow this process on GitHub and submit a request as well.
New API
After writing down all my problems it was time to do some research if any existing plugin can help me reach my goal. I found some component libraries like Vuetify and Vue formulate that can create amazing forms with little to none configuration, but it lacks the ability to manage data among pages and components. Extending these components with my own functionality is something that creates the same chaos and problems I experienced two years ago. The plugins do solve the fact that the code has the same syntax and HTML, but lacks the ability to opt-in on complex logic.
Formik, a component library for React, offers a lot of the functionality I want
to use. With React you can create a provider to access data from different
components. With the new Vue 3 setup api I can achieve a similar functionality
using the provide and inject functions. A quick demo in Vue of the new
expected behaviour.
// App.vue
<template>
  <UIFieldsProvider>
    <CustomForm />
    <CustomComponent />
  </UIFieldsProvider>
</template>
<script>
import UIFieldsProvider from ‘@vue-ui-fields/core’;
...
// CustomForm.vue
<template>
  <UIFieldsInput type="text" name="example" />
</template>
<script>
import UIFieldsInput from "@vue-ui-fields/input"
...
In this example I import the provider given by UI Fields. This provider acts
like a wrapper. All components wrapped in this component can inject data from
the UIFieldsInput, rendering a single input. In this example I can use the
data from the example input in my CustomComponent. The new setup method in
Vue 3 makes this really clear.
import { inject } from "vue";

export default {
  setup() {
    const customValue = inject("getUIFieldsValue")("example");

    return {
      customValue,
    };
  },
};
In the example above the setup function returns a computed value from the
input I wrote in my CustomForm. As this is a computed value it will update the
template if the value of the input will change. We can even wrap these functions
in multiple helper functions so we don’t have to inject the value by key.
import { getValue } from "@vue-ui-fields/utils";

export default {
  setup() {
    const customValue = getValue("example");

    return {
      customValue,
    };
  },
};
Here we import the helper function provided by UIFields. The helper function will take the key of the field and returns the same computed value. Now we have a computed value in the parent component of the form.
With this new provide functionality combined with the setup method in Vue 3 you can create more and consistent form functionalities. The setup method will also have a functional programming approach, so functionality can be grouped. This way we can create functions for a cross component filter.
import { computed } from "vue";
import { getValues } from "@vue-ui-fields/utils";

export default {
  setup() {
   const dataFromServer = fetch("get/my/data");

   const filterValues = getValues(["filter-a", "filter-b", "filter-c"]);
   const filteredData = computed(() => dataFromServer.filter(() => ...)) // Filter data based on filterValues)

   const sortValues = getValues(["sort-a", "sort-b", "sort-c"]);
   const sortedData = computed(() => filteredData.sort(() => ...)) // sort data based on sortValues

   return {
     sortedData,
   };
  },
};
Here we use multiple data elements but we only need to expose the final sorted data array to the template. Therefore I created two computed values both based on the getValues method provided by UI Fields that also return a computed array. With these values I can update my data.
More features
With this new setup I created a new base API for the layout. Based on this
layout I could add features like a mask or validation option. With the new
Input component provided by UI Fields I can pass down some props to the
component. For example I can import a trim and toUpperCase function provided by
the plugin and add this as a prop on the component.
<template>
  <Input
    type="text"
    name="example"
    :mask="toUpperCase"
    :blur="trim"
  />
</template>
<script>
import { trim, toUpperCase } from "@vue-ui-fields/utils";
...
The output of the example value will now be trimmed on a blur event and the value will always be in uppercase.
// utils.js
const trim = (value) => value.trim();
const toUpperCase = (value) => value.toUpperCase();

export { trim, toUpperCase };
A small fraction of the utlis file will show you the simplicity of these functions. You can make these functions as complex as possible, but keep in mind that the function has to be called every time the input changes.
Roadmap
The features described in this article are an example of the current development status. The plugin is still in development so the API can still change. With the new version I hope to see the plugin being used by the Vue community. UI Fields will rely on Vue 3 entirely and will be type save. As UI Fields is an open source project I encourage you to submit any suggestions or features you would like to see. Stay informed on GitHub for more information!


 Frameworks at Crossroads Europalaan 93, 3526 KP Utrecht