"Out of your comfort zone — Let’s make a game: Sprite animation with canvas"
Getting out of your comfort zone is a great way to try and learn new things. Sure, it can be a little daunting, so make sure you pick a subject that seems fun and interesting to you. For me, it is making a game.
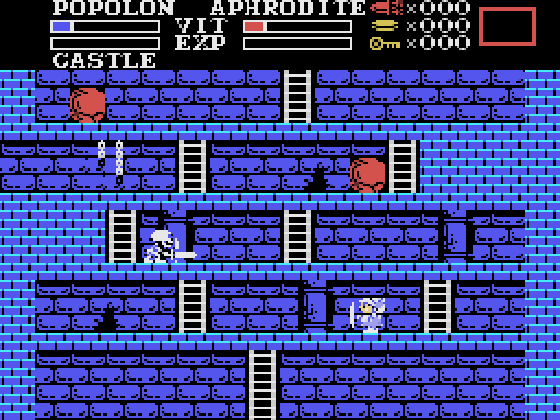
I’ve always liked video games. I grew up during the 8-bit days, playing Rally-X and Galaga when I was barely tall enough to reach the joysticks in the arcade. When I got my MSX home computer at age 12, I fell in love with Nemesis, Metal Gear and Maze of Galious. Obviously, this era will always have a special place in my heart, and ever since then, I’ve wanted to make games.

So… where to start? I knew I wanted to make a 2D platforming game, but that was
about all the planning I had done. Being a web developer, the browser as a
platform seemed the best choice. After trying to move DOM elements around (which
didn’t work out too well), I found that using canvas would be a good way to
handle the graphics.
The nice thing about canvas is that you can draw pretty much anything on them,
even other canvas elements. This is very useful for creating sprites — small
pictures that show, for example, the player character, a piece of scenery or an
enemy. Sprites are often gathered on sprite sheets, which look like this:
In this image, the rows represent different animation states and the columns are the individual sprites that make up the animation. From top to bottom, they’re idle left, walk left, idle right and walk right. Of course, we don’t want to draw all of the sprites at once, so how do we do this?
The canvas API has some very useful tools in it. One of them is
drawImage,
which lets you draw images, SVGs and even other canvas elements on a parent
canvas element. It also allows you to draw just parts of the source image,
which is what we want in this case:
// Create a 32x32 canvas
const canvas = document.createElement("canvas");
canvas.width = 32;
canvas.height = 32;

// The context is what we actually draw on
const context = canvas.getContext("2d");

// Fill the context with a Game Boy inspired color
context.fillStyle = "rgb(198, 206, 166)";
context.fillRect(0, 0, canvas.width, canvas.height);

// Draw the 'idle left' sprite
context.drawImage(image, 0, 0, 8, 8, 12, 12, 8, 8);
Let’s look at the drawImage statement. Its parameters might look like just a
bunch of numbers at first, but they’re actually pairs of coordinates and sizes:
// prettier-ignore
context.drawImage(image,
    0, 0,   // source image starting coordinates
    8, 8,   // size to 'copy' from the source image
    12, 12, // destination coordinates
    8, 8    // destination size
);
Walking through this, we point to coordinates (0, 0) on the sprite sheet, and select an 8x8 sized area, which is the size of one individual sprite. Then we point to coordinates (12, 12) on the destination canvas and draw the image we selected, again with an 8x8 size:
To do animation, simply cycle through the individual sprites in the same row:
let step = 0;
setInterval(() => {
  context.fillStyle = "rgb(198, 206, 166)";
  context.fillRect(0, 0, canvas.width, canvas.height);
  context.drawImage(image, (step % 4) * 8, 24, 8, 8, 12, 12, 8, 8);
  step++;
}, 150);
Of course, in the actual game, animation steps and speed will be tied to the
game loop timer, but this example will give you a good idea of how to handle the
animations with drawImage:
So there we go. Step one complete! We now know how to draw images, sprites and animations. The next entries of this series will handle topics like timing, handling controls, and sound and music.
Happy coding!


 Frameworks at Crossroads Europalaan 93, 3526 KP Utrecht